How to Use Low- and Mid-Fidelity Prototyping for Soft Goods
It’s important to prototype and test soft materials at various stages in the product development process.
How to Use Low- and Mid-Fidelity Prototyping for Soft Goods

Whether soft goods are a primary element in your design or used to enhance the product’s look and feel, it’s important that they be prototyped and tested at various stages in the product development process.
You may find that soft goods behave very differently from what you expect—or you may find that they are exactly what your product needs. (Not sure? Read our blog post on how to determine whether soft goods are right for your product.) If it’s the latter, you’ll want to know how to adapt your development process to leverage the unique properties that soft goods provide.
Why You Should Always Prototype Soft Goods
Prototyping early in the product development process allows you to confirm you’re on the right path and gives your team tangible feedback that will be helpful when you are considering various standards and requirements as your project progresses.
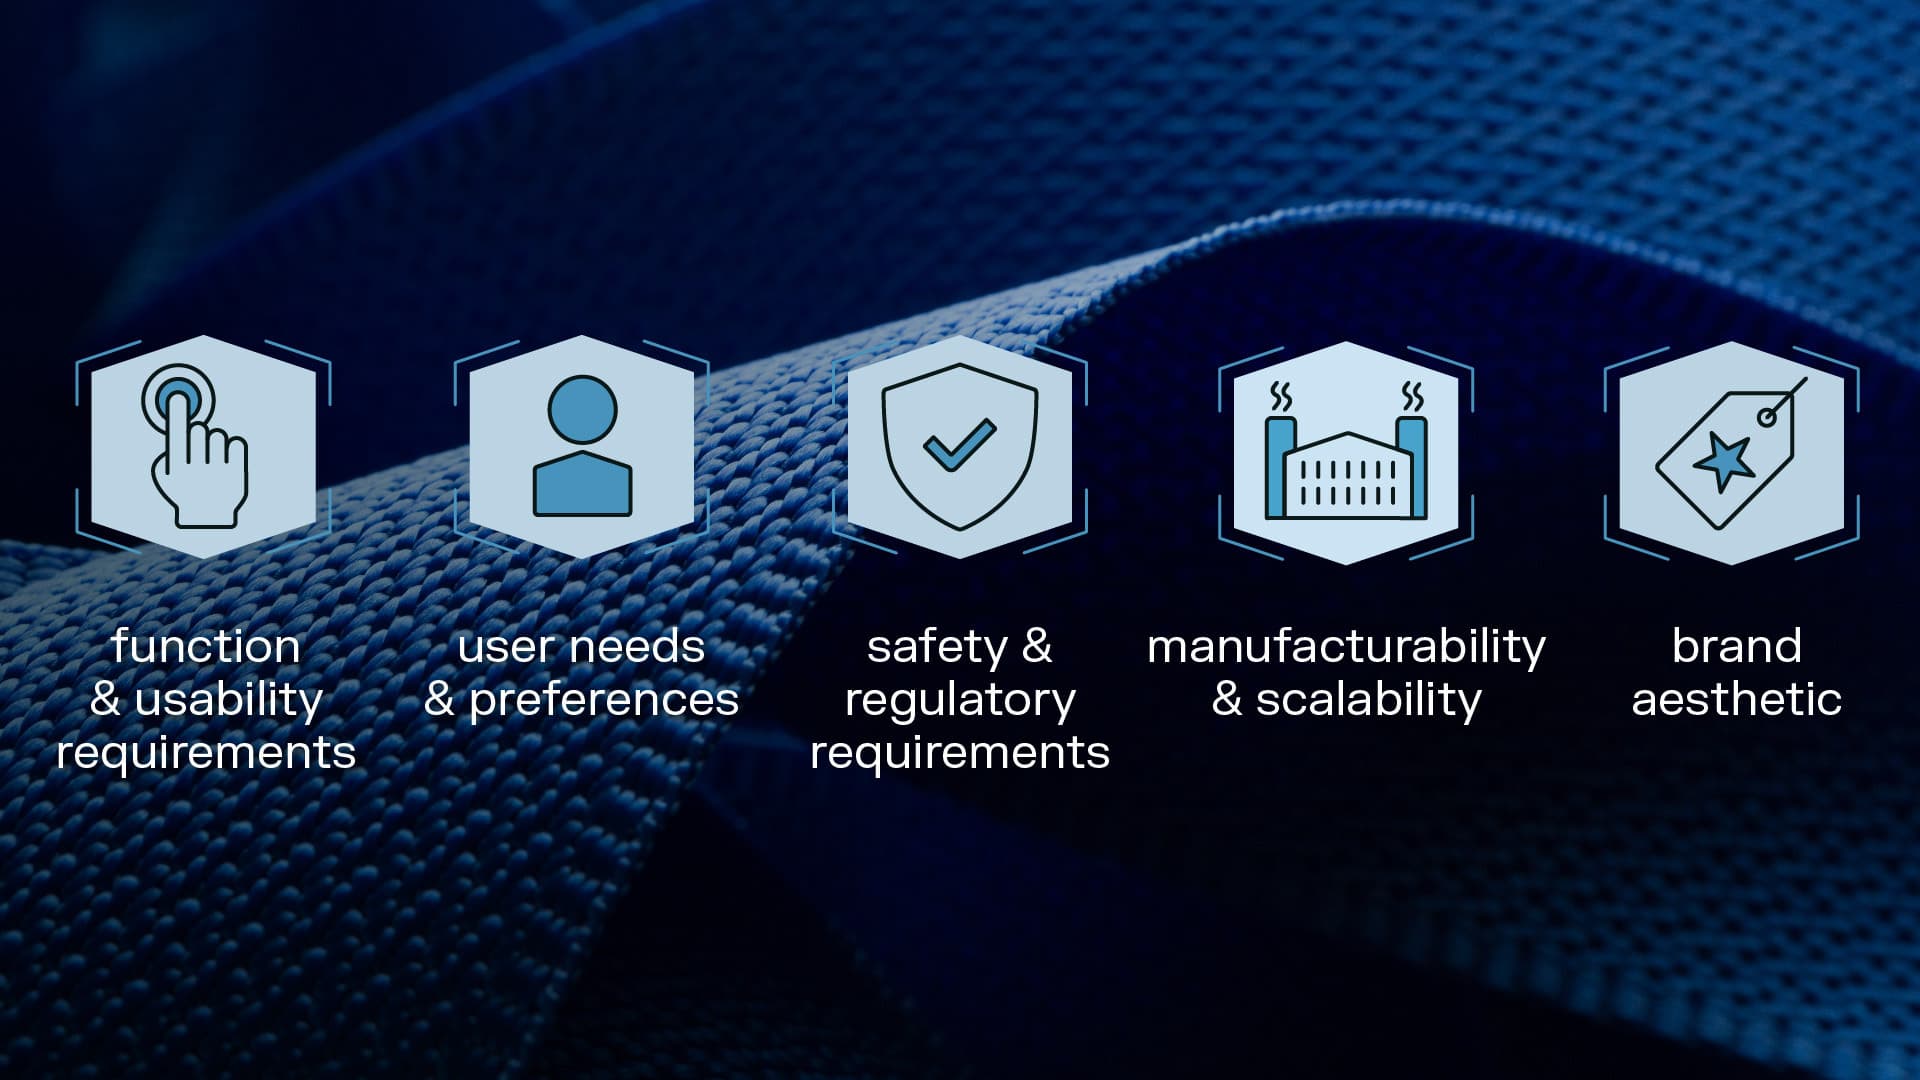
Some of the important questions that prototyping will answer about your product:
- Does your prototype meet the desired function and usability requirements? You want to be sure the product performs as intended. This includes evaluating factors such as fit, comfort, and ease of use.
- Does the product meet user needs and preferences? Prototyping will provide you with valuable feedback from users, which can help identify areas for improvement and guide product refinement. This can include evaluating factors such as fit and comfort, as well as preferences for color, style, and other design elements.
- Will the product meet safety and regulatory requirements? Prototyping soft goods products will allow you to test the product's safety and compliance with relevant regulations, such as those related to flammability or chemical content.
- Is your design manufacturable and scalable? Prototyping will help identify potential manufacturing challenges and allow you to refine the product to make it more feasible for production. This includes evaluating factors such as material selection, construction techniques, and production costs.
- Does the product fit your brand’s aesthetic? You may have been drawn to using textiles or other materials because of their visual impact on your design, so it’s important to consider that the impact aligns with both your brand and market.
As you move through the phases of development, you’ll want to create and test prototypes of increasing levels of fidelity to answer these questions as efficiently as possible.
Meticulously managing and documenting all this testing and iteration is key, not just for perfecting your product, but also for having a clear, well-documented manufacturing plan at the end of the product development process that enables the hand-off to manufacturers to be as smooth and predictable as possible.
Continue this conversation on LinkedIn! Share your thoughts about this blog post on Matt’s LinkedIn page here.
Three Phases of Soft Goods Prototyping
There are three phases of prototyping and testing soft goods:
- Low-fidelity prototyping
- Medium-fidelity prototyping
- High-fidelity prototyping
I will explain the first two phases below. The third will be explained in a future post.

Low-Fidelity Prototyping to Test Concept Viability
Low-fidelity mockups will look nothing like a finished product, and that’s okay. At this stage, that’s not yet your focus.
Use early prototypes to gather the kind of feedback that a rendering could never inspire. People often need to get something into their hands and use it before they can fully react to it and offer meaningful input. Pay careful attention to comments about structure and feel. Save feedback on aesthetics for consideration later in the process.
Prototyping Example: Orthotics
While developing orthotic devices at Delve, we created quick, inexpensive early prototypes—often by hacking together parts of existing products—to test a range of ideas and better understand users’ ‘step-by-step’ experience. Did these prototypes look great? Not at all. Did feedback gained from each prototype inform the next iteration, and ultimately help us perfect the products? Definitely.
Why low-fidelity prototypes are helpful
Early in the product development process low-fidelity prototypes will enable to you to:
- Quickly evaluate size, function, and structure
- Understand how weight and construction are influencing the mockup’s fit and comfort.
- Gather honest feedback in the anticipated environment of use
Low-fidelity prototypes help you answer questions like:
- How well does it fit in your hand, or worn on different body types?
- What about someone a foot taller or shorter?
- Is it hard to use, whether donning/doffing (putting on or taking off) or being interacted with?
- What are the ‘gotchas’ that you didn’t see on design drawings or patterns?
Prototyping Example: Nursing Wearable
Even with basic materials and construction, it can be challenging to predict how layers of material and weight distribution will impact a design. In our work on a nursing wearable project, we used early prototypes to understand where support and structure would be needed.
Be thrifty, resourceful—and document, document, document
Give yourself time to tinker and test out different combinations of materials to understand what performs better than others. You can typically find what you need to get started at sporting goods stores, hobby shops, or online fabric suppliers. It can be harder to find specialty materials that you want to try, but that can be saved for later. It’s okay to work messy and ‘imagine’ a bit still.
Make sure to document and learn about construction techniques used in existing products that might be adopted in your product. (Don’t reinvent the stitch!) This documentation will also be useful later when communicating your intent to vendors.
As with other elements of your product, with soft goods elements it’s a good idea to use the build-measure-learn (BML) framework to iterate quickly and test often.
- Build: Create a Minimum Viable Product (MVP) that includes core features of your product.
- Measure: Collect data from your MVP to evaluate how effective it is at meeting the needs of your target users.
- Learn: Based on the data collected, make informed decisions about what changes need to be made to the product or service in order to improve it.
Before you move on, make sure that you have:
- Developed prototypes around critical dimensions, creating ‘performance criteria’ that you can measure later.
- Researched and tested key user assumptions—with users!
- Tested the ‘fit’ and weight on various sizes of users, to gain an understanding of what adjustment features may be required. Prototype materials are often lighter than an assembled product.
- Gotten hands-on with existing products and documented their shortcomings in design and material.
- Questioned the features of the product. Do they make sense in real life as they did on paper? Is the application of a material appropriate? Do we need to revisit the core concept direction again? (Better to try it and discover challenges early before investing more time in higher fidelity prototypes.)
- Defined what you want to learn in the next round of prototyping. What options should your next prototypes include to help make key decisions?
Medium-Fidelity Prototyping to Refine the Concept
Once you’ve narrowed down your core idea, it’s time to get more realistic—without jumping too far ahead. Most of your concept refinement will happen in this important middle phase prior to creating a finished good.
Why medium-fidelity prototypes are helpful
Creating medium-fidelity prototypes is critical to simplifying your idea and making it usable.
The behavior of soft materials is often very different from what people anticipate, as you’ve likely experienced with your rough prototypes. As you take the next step and construct models that use better materials and refined patterns, you’ll learn a lot about what properties are similar and which are different, and how to adjust accordingly.
Medium-fidelity prototypes help you answer questions like:
- How will each part of your product be cut out and constructed?
- Do you need to add structure, breathability, or adjustment points?
- How comfortable is your design, and what can be altered to fit better or prevent discomfort? (e.g. seam placement, material thickness, etc.)
- How can you facilitate quicker use, or reduce any awkwardness while using it?
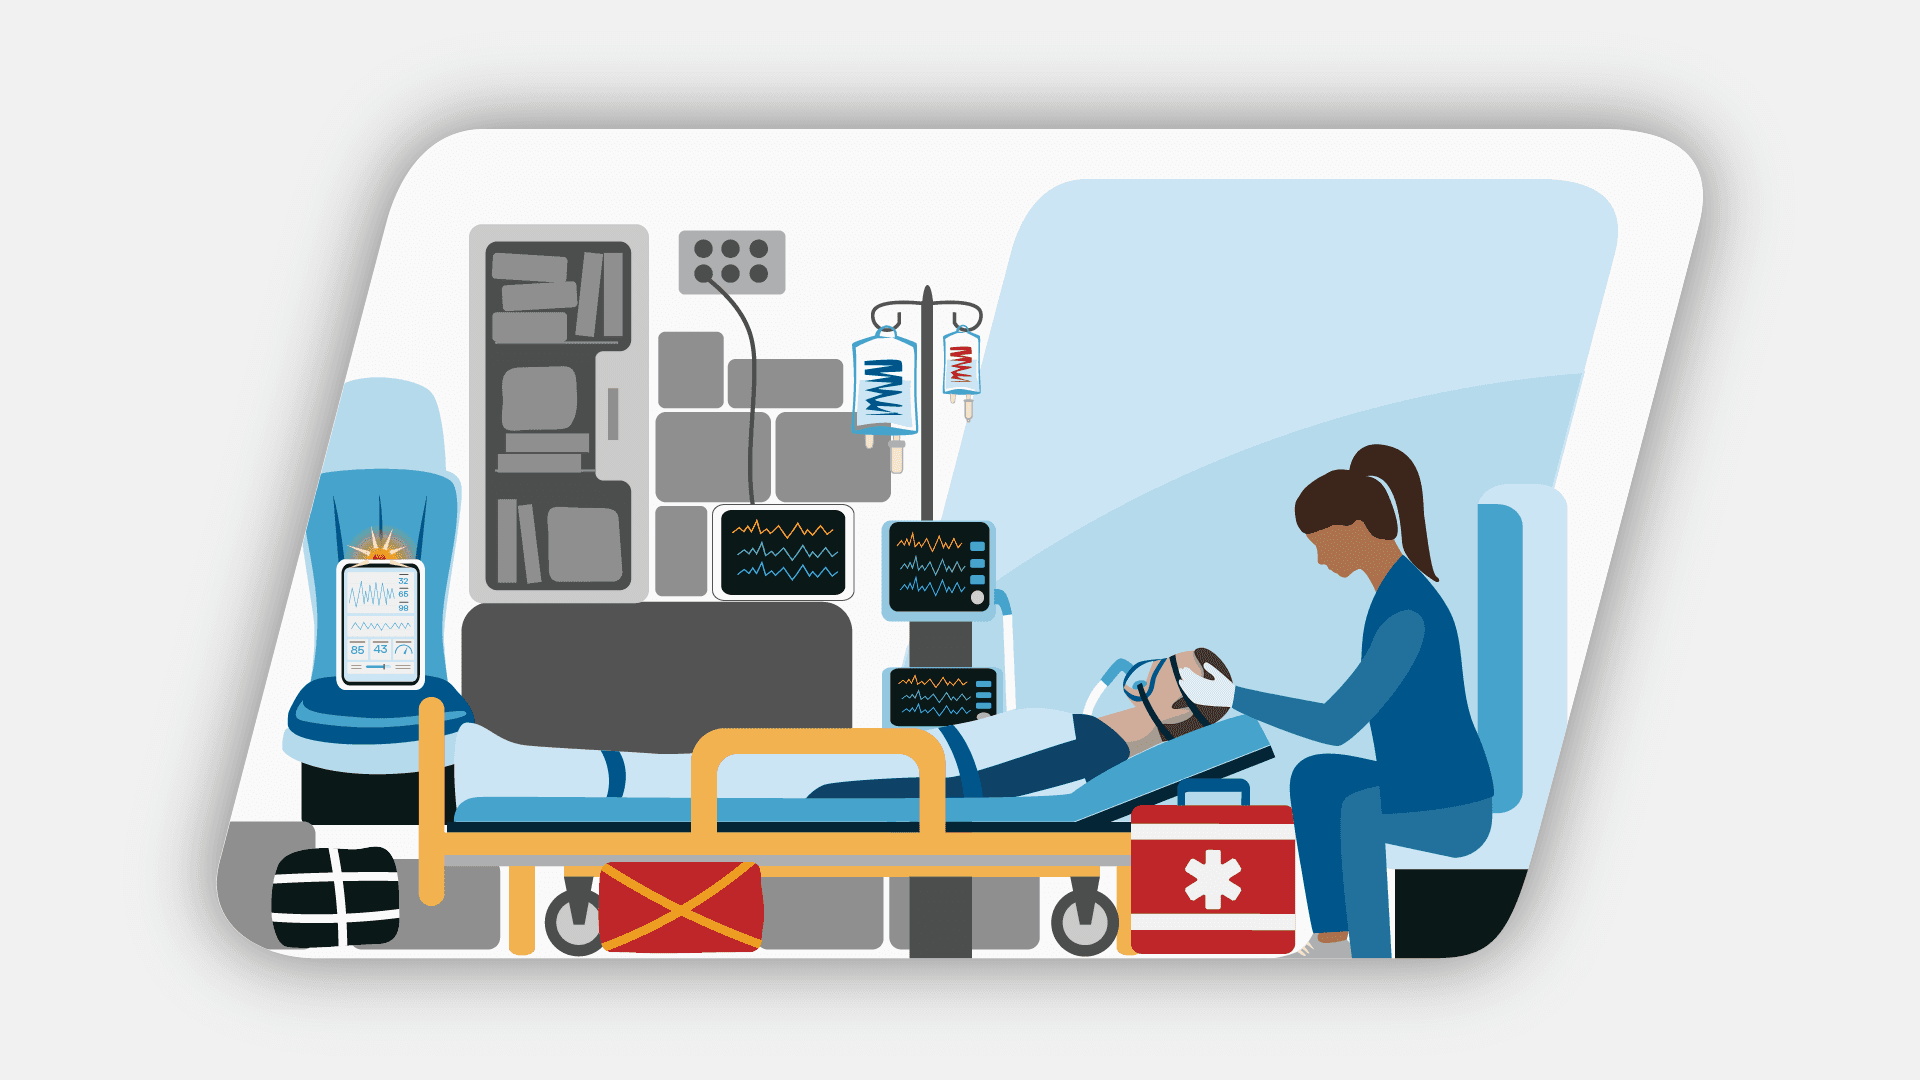
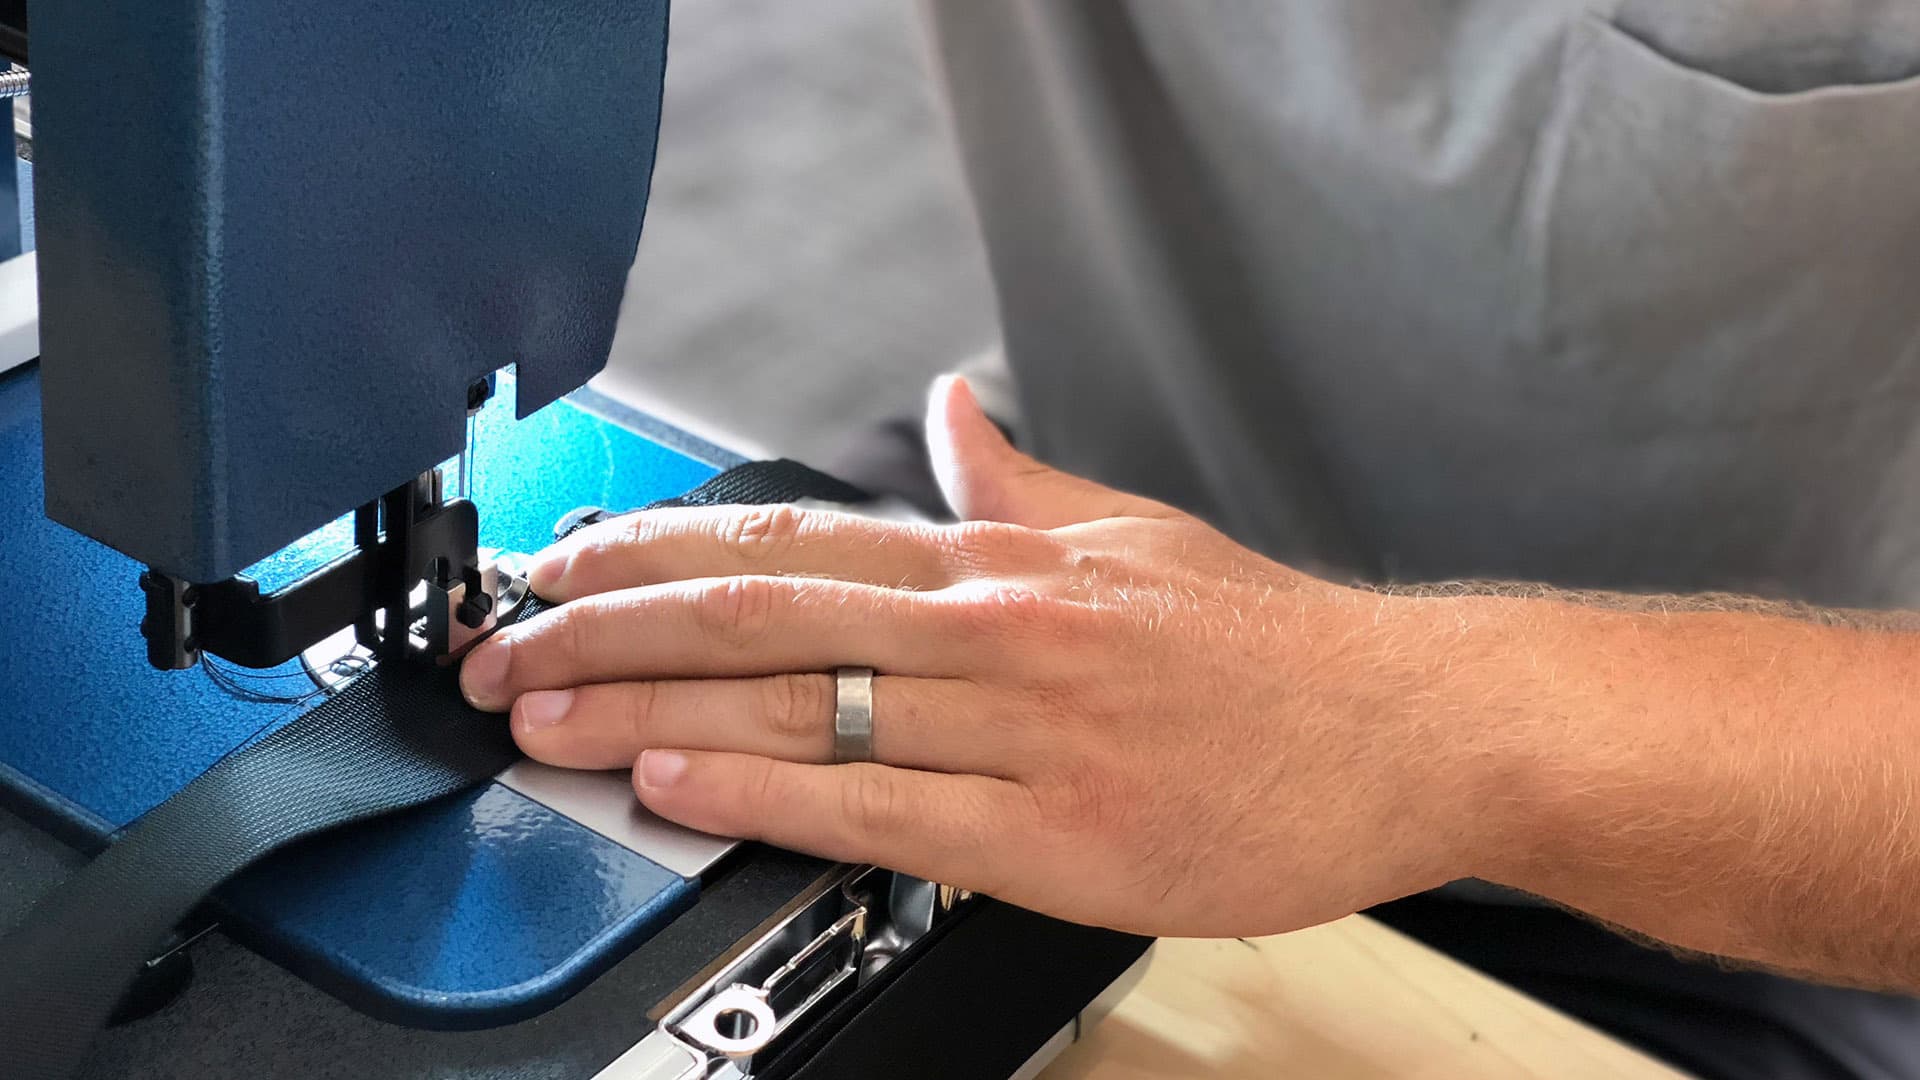
Prototyping Example: Wrist Wearable
Imagine a connected wrist wearable that monitors a user’s vitals, but also needs to adjust to fit a wide range of users.
To learn exactly which elements were “must haves” to deliver a stellar user experience, we iterated with early prototypes of both the wristband and device housings, putting them in users' hands and gathering feedback.
We learned that in order to provide discreet adjustment and comfort around the technology, we would need to guide the tension and fit to the right areas of the wrist by creating a custom woven strap. So, that’s what we did.
Iterate quickly, test often—and remember, context matters
In this phase, you take a step forward from earlier, low-fidelity prototypes by developing prototypes with more realistic construction. Off-the-shelf parts and fabrics are sufficient to enable you to construct more realistic prototypes that will answer your most pressing development questions.
As you work your way through iterations of the design, you will want to layer in the next variables, like secondary features and production-like materials.
Other contextual considerations to keep in mind: What will users be wearing or interacting with while they use the product? What lens, whether fashion or function, are customers viewing your product through? These considerations may influence your material decisions, such as colors, choosing natural or synthetic fabrics, as well as the details you choose to emphasize in your product.
Be sure to consider your product’s ease of use for users who may have lower dexterity or movement abilities, whether due to age, disability, or other impairments. Access to these users may be challenging, but their feedback is critical. Testing with real users who have unique accessibility needs is important for all products they might use, but absolutely critical for products intended for these groups. In reverse, their insights may even spark improvements in your product that make it easier for everyone to use
Prototyping Example: Medical Garment
When designing adaptive features for a medical garment to be used by patients who might have lower dexterity or motor function, our goal was to enable users to put on or shed the garment without assistance from a caregiver.
We prototyped many closures such as snaps, hook and loop, and sew-in-magnetic closures. With infinite options available, it was critical to evaluate each closure with real patients to ensure our final selection would be intuitive to use. When a vendor used a cheap alternative in a prototype, user feedback during formative and summative testing pinpointed the issue immediately.
Ultimately, our testing showed that the best solution would be to incorporate a MagZip zipper into the garment. This zipper provided a large grip surface and was more durable after washing than other options. It also resulted in fewer user complaints, while giving the product market credibility.
Assess risk and environmental impact
The early prototyping stage is a good time to assess risk. How are people likely to misuse this product, either intentionally or unintentionally? What's the worst thing that could happen with this product? For example, long flexible objects are strangulation hazards for kids, and non-breathable fabrics that might be worn can carry asphyxiation risks.
Be sure to look at regulatory requirements for certain groups like children and infants, as well as researching certifications that can provide standards to follow:
- The Consumer Product Safety Commission (CPSC) requires that sewn goods meet requirements for flammability, lead content, and other potential hazards.
- The International Organization for Standardization (ISO) has developed several standards related to soft goods testing, including standards for testing the flammability, abrasion resistance, and colorfastness of textile products.
- The Global Organic Textile Standard (GOTS), a certification program for textiles made from organic fibers, has standards for evaluating environmental impact, social responsibility, and quality assurance.
Assessing risk is crucial for liability purposes, but also important for other reasons. By understanding these requirements early on, you can make informed decisions about the materials you choose, narrowing down the options. This, in turn, increases confidence in the product when it transitions to the user.
Remember to consider the environmental impact of your design choices at this stage as well. At this stage, you will be starting to understand how your design might fit into the business model you envision. Using your business model as guide, you may be able to narrow down your design options to minimize your product’s environmental impact. (In the next blog post in this series, we’ll go deeper into how to use prototypes to test and drive towards your sustainability goals.)
Partner with a cut-and-sew professional
Basic sewing and crafting skills will take you through evaluating the usefulness of your design. However, when you do reach the limit of your skill set, consider leveraging the expertise of a professional who can pattern and sew with production techniques. This is particularly advisable if your product requires manufacturing processes you don’t have in-house, such as edge-binding or the sizing of garments.
Partnering with a cut-and-sew professional will free you to focus on improving other aspects of your design. In the meantime, the expert will begin the process of patternmaking to reduce the amount of fabric needed during manufacturing (known as marker efficiency) and developing your product in a range of sizes, which will be critical for user’s comfort whether they are an XS or a 3XL.
Models and Prototypes 101
Product design is an iterative process. Models are a critical part of that process.
Before you move on, make sure that you have:
- Evaluated critical elements such as size, feature placement, and fit during movement.
- Considered what ‘variables’ you can test in your prototypes that might help you evaluate multiple ideas quickly.
- Constructed the prototypes to trial in their intended setting, for the intended use time.
- Considered how different sizes of the product will be created—and modify your patterns to scale correctly.
- Sourced materials or existing parts that are close in feel/function to your intent.
- Documented each prototype. You’ll be glad to have all of those photos and notes to reflect back on when you need to change, recreate, or communicate a technique to a vendor.
Next: In Soft Goods, Part 3, we cover development steps for clearly communicating your design, engaging with vendors to create high fidelity prototypes, and preparing to bring your product to scale.
Continue this conversation on LinkedIn! Share your thoughts about this blog post on Matt’s LinkedIn page here.
Learn more about Industrial Product Design Services for Companies at Delve.
Product Design and Development at Delve
Our experts in insights, strategy, design, and engineering guide you through an end-to-end innovation process that delivers results.